My Goal
The reason I want to have the WCF Service uses windows authentication is there are some sensitive data in our service. We don't want to everyone have the access to look at the data or service schema. And I don't want to write any custom code coz our project schedule is a little bit busy. So, we decided to use windows authentication and configure the access permission in IIS, which will save our team a lot of time.
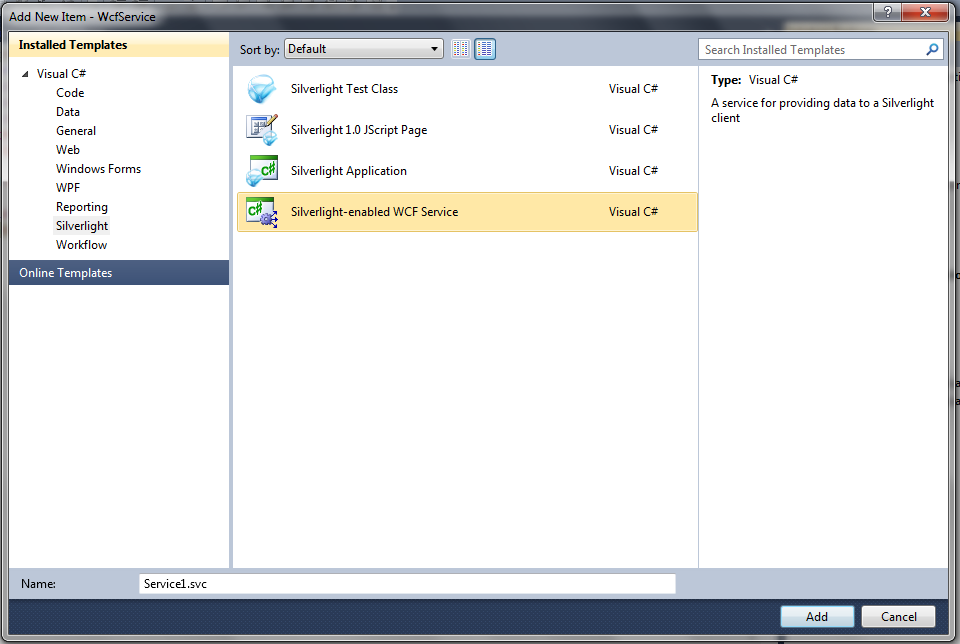
Create WCF Project
1. Open your Visual Studio 2010, from Start -> All Programs -> Microsoft Visual Studio 2010 -> Microsoft Visual Studio 2010


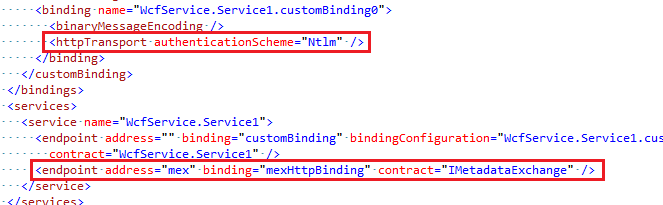
10. Add an authenticationSchema="Ntlm", remove metadata endpoint
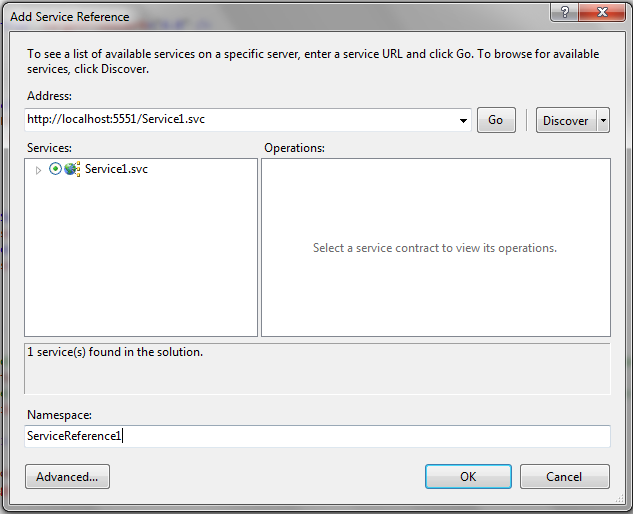
12. Add the WcfService reference to the Silverlight project
14. You can build and debug the project. (the value is got from DB.)

Deploy the project
When you debug the project, you can use the authenticationSchema="Ntlm", but when you try to deploy it, you need to change.
1. Double click the Web.config file in the WcfService project.
2. Change the authenticationSchema="Negotiate"
3. Deploy the service project to your server.
4. Edit you service reference address to the new web address.
5. Deploy the silverlight project to your server.
6. You have to set both the service web site and the silverlight web site as Windows Authentication.
7. Browse your asp.net page, you should be able to see the value read from DB.
Note: if you still can't see the value, please make sure if you did the following setting
* You have the cross domain file for your service web site
* You have turn the authentication schema to Negotiate
* You have set all sites as Windows Authentication and turned off the Anonymous Authentication

No comments:
Post a Comment